Personalized Style
Creating Monograms with Cricut for Lunch Boxes and Travel Totes
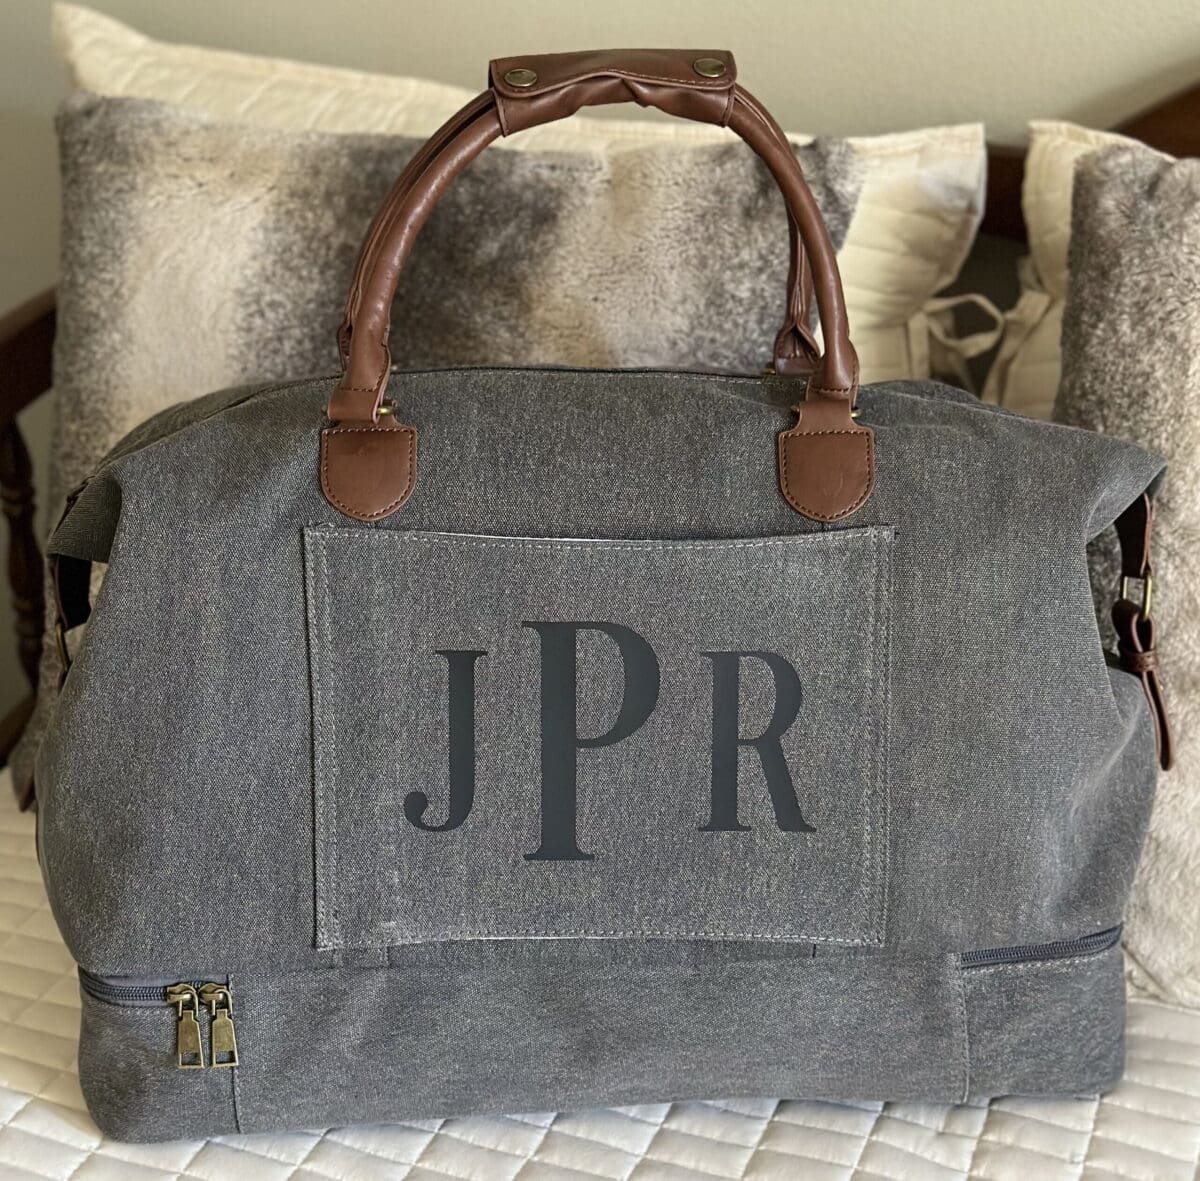
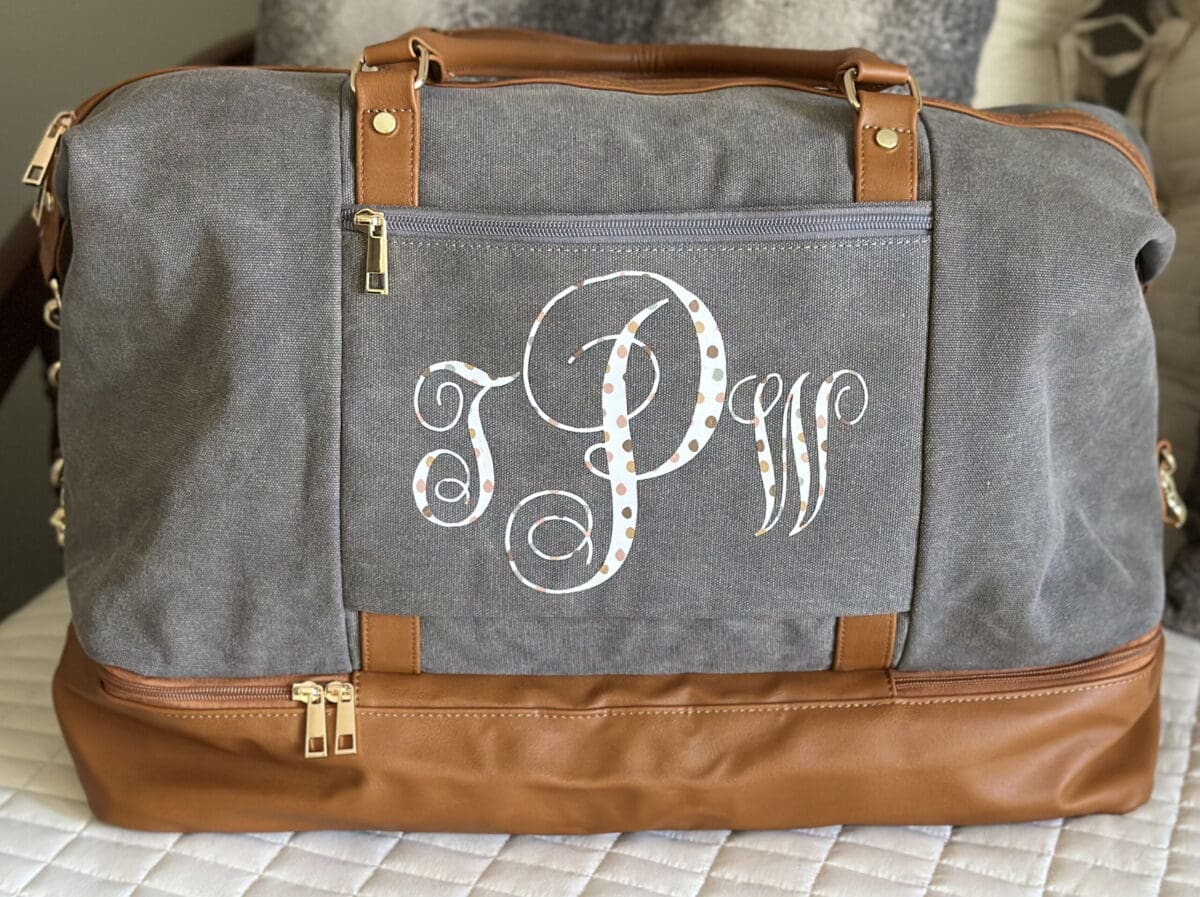
Nothing adds a touch of personalization and style quite like a monogram. Whether it’s a lunch box or a travel tote, adding a monogram transforms an ordinary item into a unique and customized accessory. With the help of a Cricut machine or any cutting machine for that matter, you can easily create stunning monograms that reflect your individuality. In this blog post, I will guide you through the process of using a Cricut to create monograms for these great little travel totes I purchased for my husband and I. I will also give you the details on lunch boxes made of Nylon which I did for my daughter and daughter in-law, allowing you to showcase your personal flair wherever you go.
Here is how it’s done!
- Gather Your Materials: Before diving into the monogram creation process, gather the necessary materials. You’ll need a Cricut cutting machine, iron-on vinyl in your desired colors, weeding tools, and a lunch box or travel tote as your canvas. Choose vinyl colors that complement the color and style of your chosen item.
- Design Your Monogram: Launch the Cricut Design Space software on your computer or mobile device. Start by selecting a monogram font or a combination of fonts that you find appealing. Experiment with different styles, such as traditional, script, or modern, to find the look that resonates
 with you. You can also choose to add additional design elements, such as frames or borders, to enhance your monogram. For mine, I wanted a more feminine look but for my husband’s travel tote I wanted it to be a bit more masculine.
 - Customize the Monogram: Enter your initials or desired text into the Design Space and adjust the font size and spacing to fit your lunch box or travel tote. Play around with different sizes and orientations to achieve the desired look. Consider adding flourishes, decorative elements, or even icons that represent your personality or interests.
- Cut Your Vinyl: Once you’re satisfied with your monogram design, prepare your Cricut cutting machine for the vinyl cutting process. Follow the machine’s instructions to load the adhesive vinyl into the cutting mat and secure it in place. Then, initiate the cutting process in the Design Space by selecting the appropriate settings for your iron on vinyl. Remember to mirror the image when using iron-on vinyl.
- Weed the Vinyl: After the cutting process is complete, carefully remove the excess vinyl from the cutting mat. Use weeding tools, such as tweezers or a weeding hook, to remove the small pieces inside letters or intricate designs. Take your time to ensure clean and precise edges for your monogram.
- Apply the Monogram: Position the monogram design onto your lunch box or travel tote. Press the monogram onto the surface, starting from the center and working outward. Take your time to smooth out any air bubbles or wrinkles as you apply the monogram. Now I used a box to put on the inside of the bag or lunchbox to allow a hard flat surface since I could not lay it flat on the ironing pad. You will need to find something that works for your project depending on size and opening, etc. Heat your iron or press to 280 degrees for Nylon type materials, you don’t want it too hot, otherwise it will melt your fabric. Heat for 20 seconds, then check to see if the monogram is adhered to your fabric. If it is not, apply the heat press for an additional 10 seconds, repeat this step until it is fully adhered. For all other fabrics you can follow the directions on your iron-on vinyl packaging.
- Remove the Clear Tape: Once the monogram is firmly adhered to the lunch box or travel tote, slowly peel away the transfer tape at a 45-degree angle. Be careful to keep the vinyl in place as you remove the transfer tape.
- Finishing Touches: After applying the monogram, step back and admire your personalized creation. Check for any imperfections or areas that may need further attention. Make any necessary adjustments to ensure a clean and professional-looking monogram.
- Enjoy Your Personalized Accessories: Once the monogram is in place and securely adhered, your lunch box or travel tote is transformed into a stylish and personalized accessory. Show off your creation with pride, whether you’re heading to work, school, or embarking on a travel adventure. Enjoy the satisfaction of carrying an item that reflects your unique style and adds a touch of personalization to your everyday essentials.
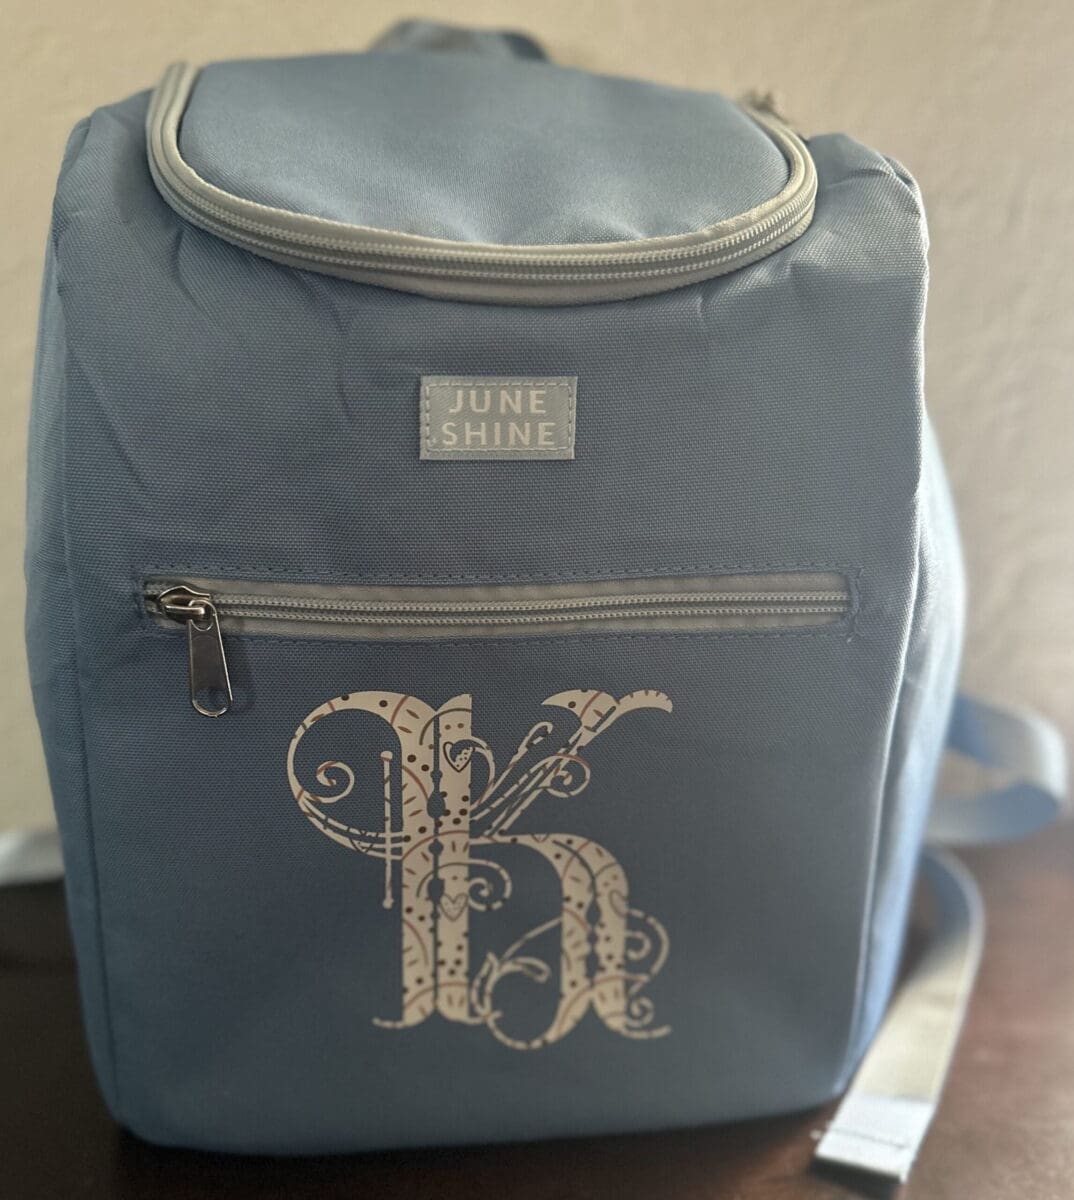
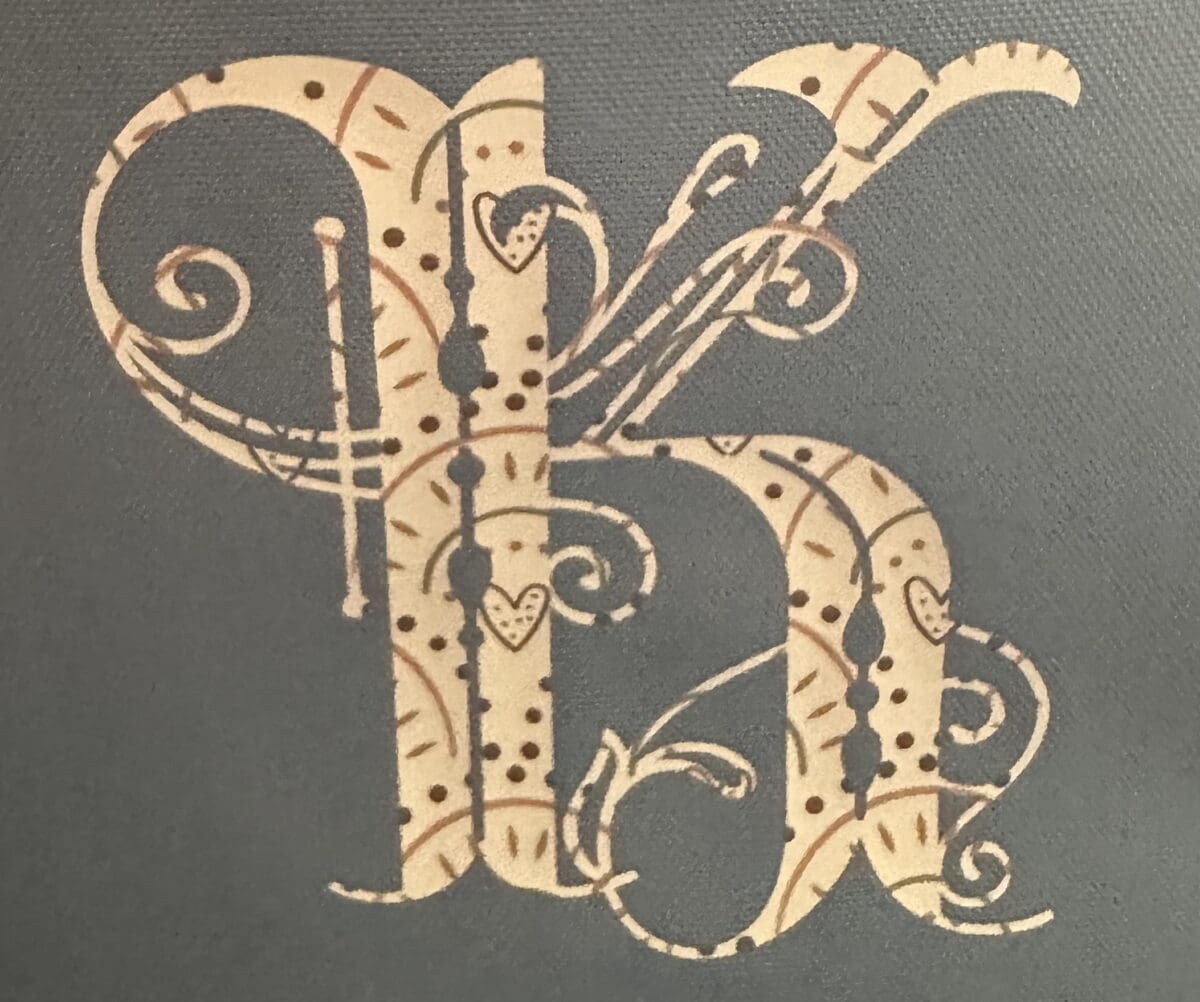
NOTE: For the canvas travel totes I used the same method, time and temp. I just heated the fabric first, then applied the monogram then applied the heat press. I did notice that it took longer for the vinyl to adhere to the heavier fabric in some spots, so I just kept reapplying the heat press until I felt they were good and stuck!
If you have a Cricut or any other cutting machine, I hope you will give this a try. With a little creativity, you can easily create stunning monograms for your lunch boxes and travel totes. The process of designing, cutting, and applying monograms allows you to personalize your accessories, showcasing your individuality wherever you go. Embrace the freedom of customization and elevate your style with a monogram that is uniquely yours. Whether you’re monogramming for yourself or creating thoughtful gifts for loved ones, the possibilities are endless. Let your imagination be your guide to crafting personalized masterpieces.
Related Articles
Dollar Tree Bunny Heads
Creating the cutest little bunnies from these Dollar Tree bunny heads....I had these bunny heads from Dollar Tree in my stash, but not to worry, I have been to Dollar Tree and they have them again this year. I am a sucker for anything bunnies and knew I could use...
LOVE Sweatshirt DIY
Creating the cutest sweatshirts for Valentine's...I originally ran into Hobby Lobby to peek the big 90% off Christmas sale and ran into these cute little words! These words were in the Valentine's section of my store and 40% off. I wanted the XOXO but there was only...
Santa Ornament Decor
Here are the supplies I used: Silver Tray from Dollar Tree. You could also use a picture frame or even wood for this project. The Santa ornament. I purchased both the red and the gold Santa ornaments at WalMart for $1.98 each.


