
LOVE Sweatshirt DIY
Creating the cutest sweatshirts for Valentine’s…
I originally ran into Hobby Lobby to peek the big 90% off Christmas sale and ran into these cute little words! These words were in the Valentine’s section of my store and 40% off. I wanted the XOXO but there was only one left and it had been opened and was in bad shape, so I grabbed the LOVE instead. I immediately started thinking about all the things I could use these for, makeup bags, tote bags, even jackets! I wanted to use them for my two little granddaughters, so sweatshirts it was! I felt at their age it was the most appropriate and would get the most wear!
Here is how it’s done!
- Gather Your Materials: Not much is needed for this project! Literally just your iron or heat press, a sweatshirt, your letters, a lint roller, and a piece of parchment paper.

- Turn your iron on to the highest setting and be sure to turn OFF the steam. I used my heat press by Cricut, and placed it on 340 degrees.
- Use the lint roller across the area of the sweatshirt where you will be placing your letters while you wait for your iron to heat up.

- Lay your sweatshirt on a hard flat surface and run your iron over it to smooth it out.
- Position the letters onto your sweatshirt how you want them. I wanted mine straight across the front so I measure the width between the two sleeves and spaced them out accordingly. I can’t give exact measurements as it will depend on the size of sweatshirt you are using.
- Once you have them exactly where you want them, lay a piece of parchment paper or a clean cloth of some kind over the top of the letters. Hold your iron or heat press over the parchment paper for about 20-25 seconds. If you can not get all of the letters in at once, just repeat for each letter until they are stuck. If you find some edges aren’t holding too well, you can apply the iron again for 10-15 seconds. Don’t worry, once you do the next step, they should fully adhere!
- Next turn the sweatshirt inside out and press for 25 seconds over the entire word or each letter. This seemed to really allow them to adhere to my sweatshirts. If you don’t feel confident in them staying on, you can always use fabric glue!
- I waited for mine to cool completely down after step 7 so that I could make sure they were stuck well and they were! These are soooo cute and I know my little girlies will LOVE them!


Related Articles

Dollar Tree Bunny Heads
Creating the cutest little bunnies from these Dollar Tree bunny heads....I had these bunny heads from Dollar Tree in my stash, but not to worry, I have been to Dollar Tree and they have them again this year. I am a sucker for anything bunnies and knew I could use...

Santa Ornament Decor
Here are the supplies I used: Silver Tray from Dollar Tree. You could also use a picture frame or even wood for this project. The Santa ornament. I purchased both the red and the gold Santa ornaments at WalMart for $1.98 each.
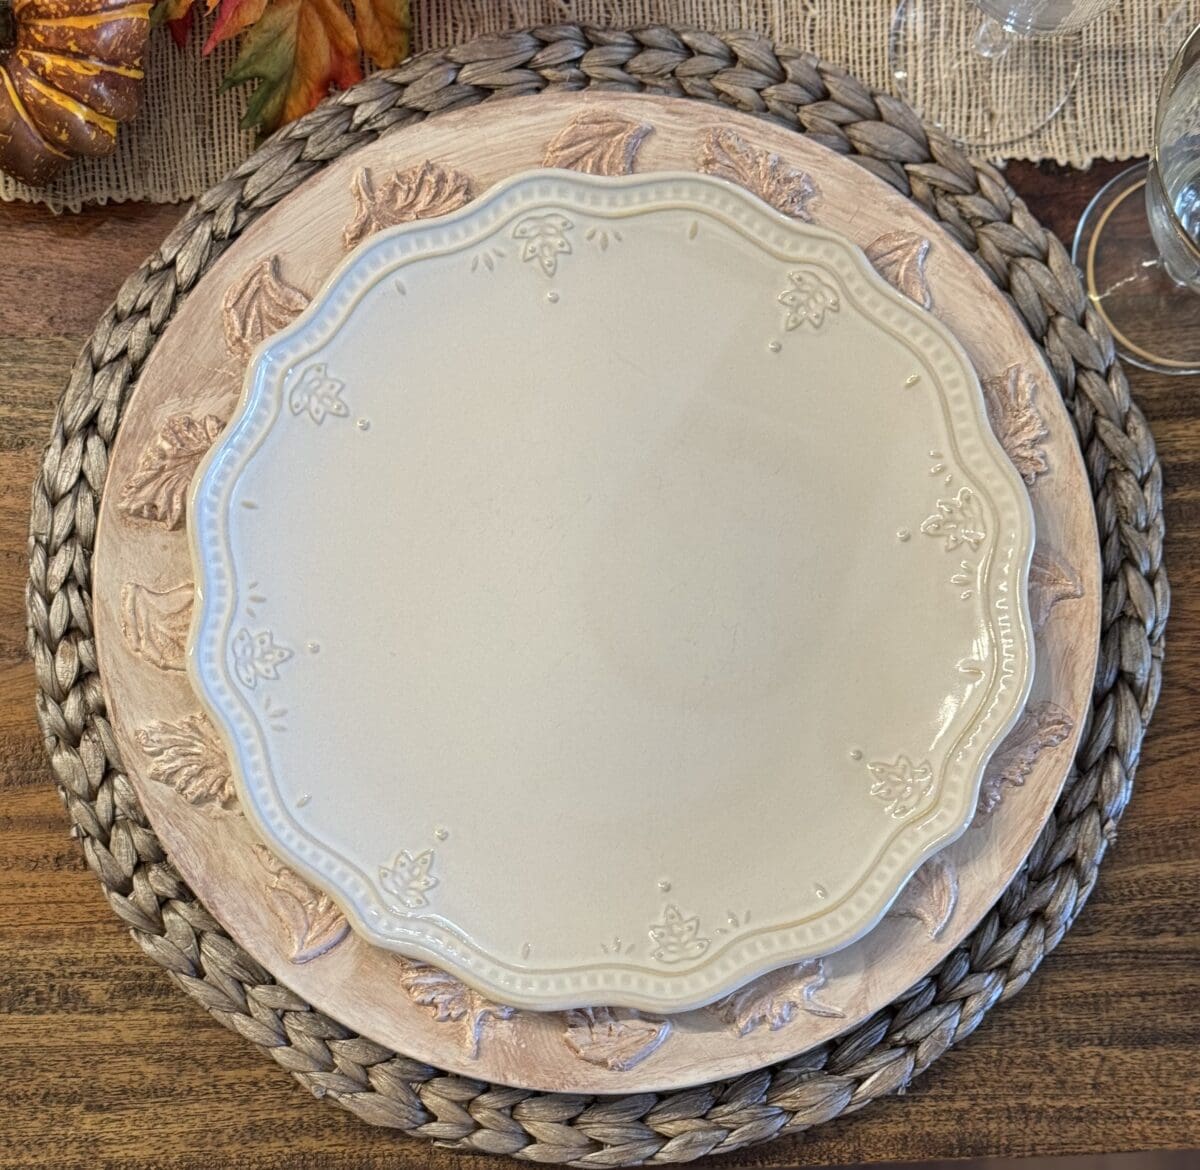
Fall Table Chargers
Here is what you will need: Silicon Mold of choice, I found these on Amazon, but you can generally find these anywhere that cake decorating is sold as these are meant to be used with fondant for cake decorating. Air dry clay, I used DAS which is sold at Hobby Lobby. ...