
Fall Table Chargers
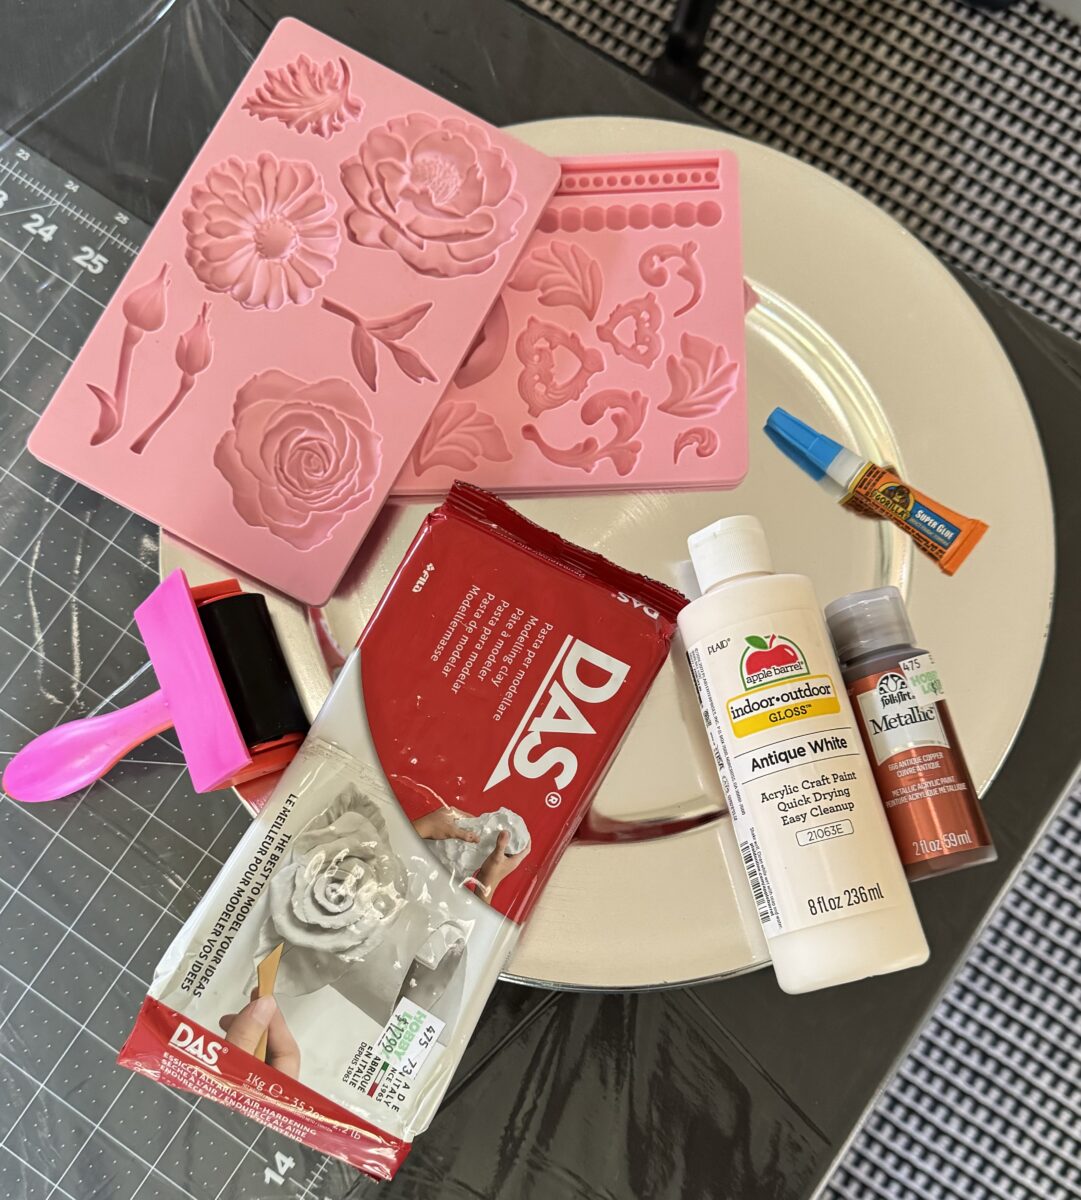
Here is what you will need:
- Silicon Mold of choice, I found these on Amazon, but you can generally find these anywhere that cake decorating is sold as these are meant to be used with fondant for cake decorating.
- Air dry clay, I used DAS which is sold at Hobby Lobby. I like this clay best because I don’t have any problems with it cracking as it dries like some others I have tried have done.
- A scraper of some sort. I used the scraper on my mod podge roller. Nothing fancy, just whatever you have.
- Antique White or a Cream colored acrylic paint.
- Metallic paint in Antique Copper
- Super glue. You could use E6000 or any glue really, I just liked this because it dries instantly.
- Plate chargers, however many you want to create. I found these at the Dollar Tree, so this is an affordable craft for creating a beautiful tablescape.

Here are the step by step instructions for creating the chargers:
1. Open up your clay and grab a small piece, just enough to fill in one of the leaf molds. I repeated this until I had filled them all in. I then took my scraper and scraped across the mold until it was even across the entire thing. 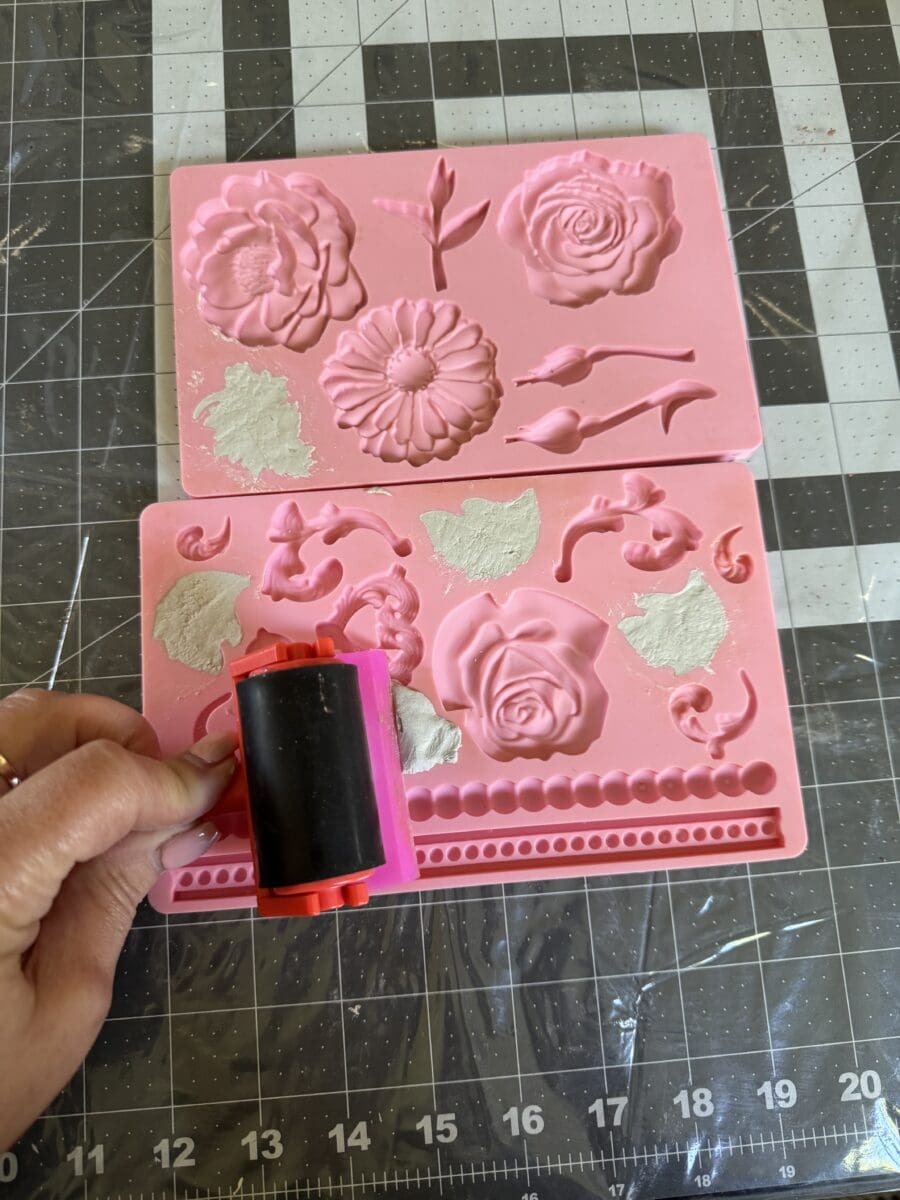
2. Now you are ready to remove them from the mold. I found this to be pretty simple to do. I just bent the mold until a small edge of a leaf popped out and then pealed it out the rest of the way. I repeated this until I had them all out.
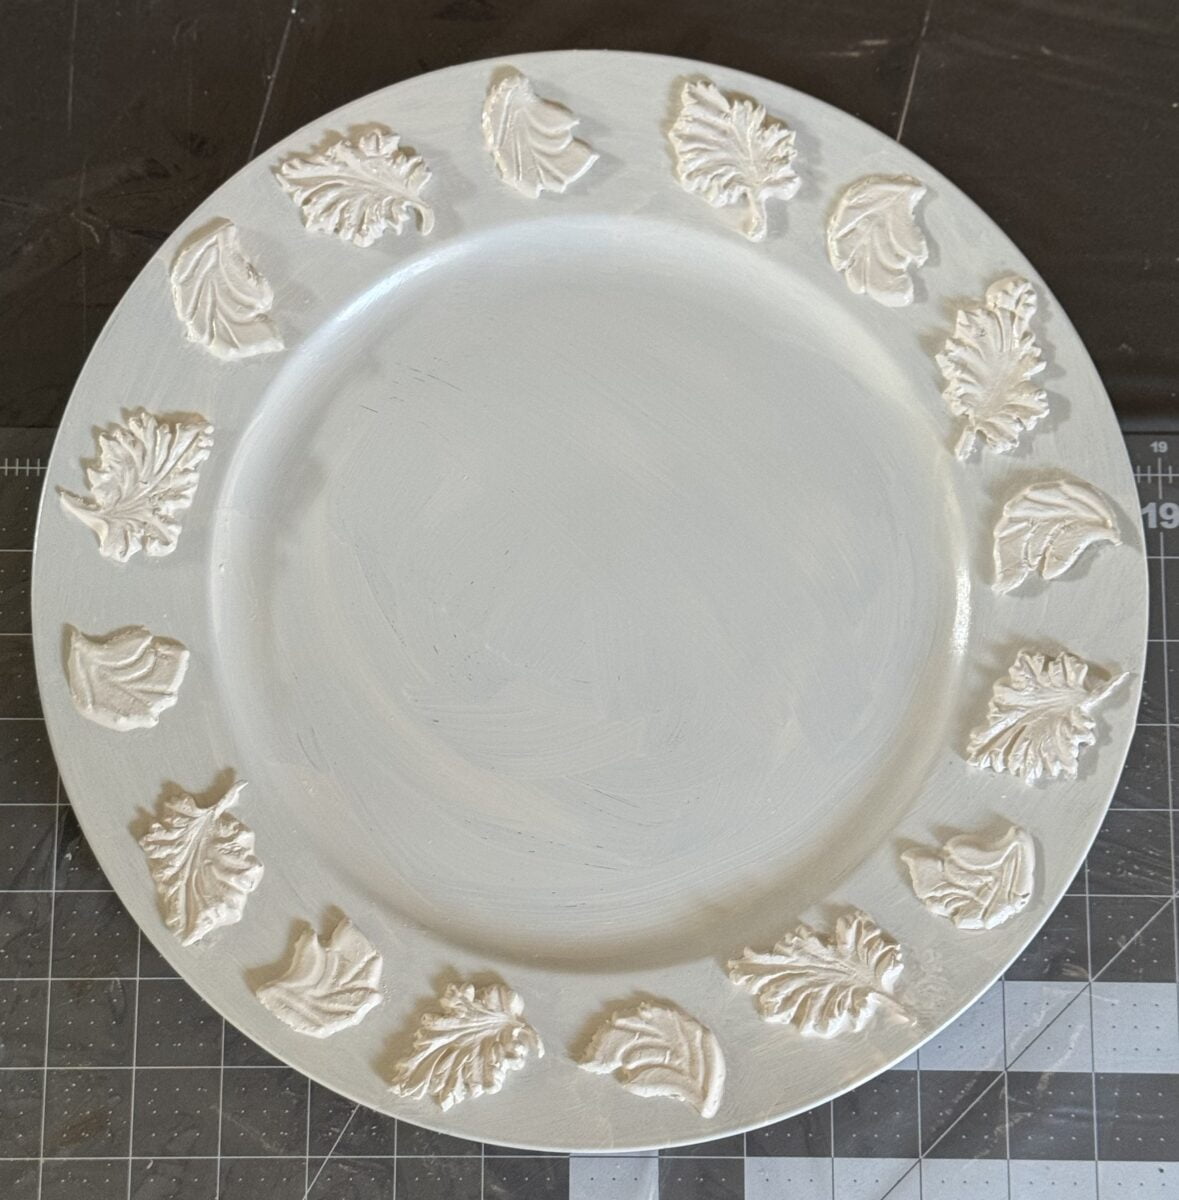
3. Now, you will see from my molds that I have one larger leaf and four smaller ones and I wanted to created a pattern around the charger. I would place one large leaf down on the charger and then add the smaller ones and once I came up with a pattern, I just repeated it until the entire charger was covered with leaves and it looked the way I wanted it to look.
4. Once I had the charger covered and they were layed out how I liked them, I took my super glue and one by one picked them up and glued them back down. I then set them aside to fully dry/cure for 24 hours.
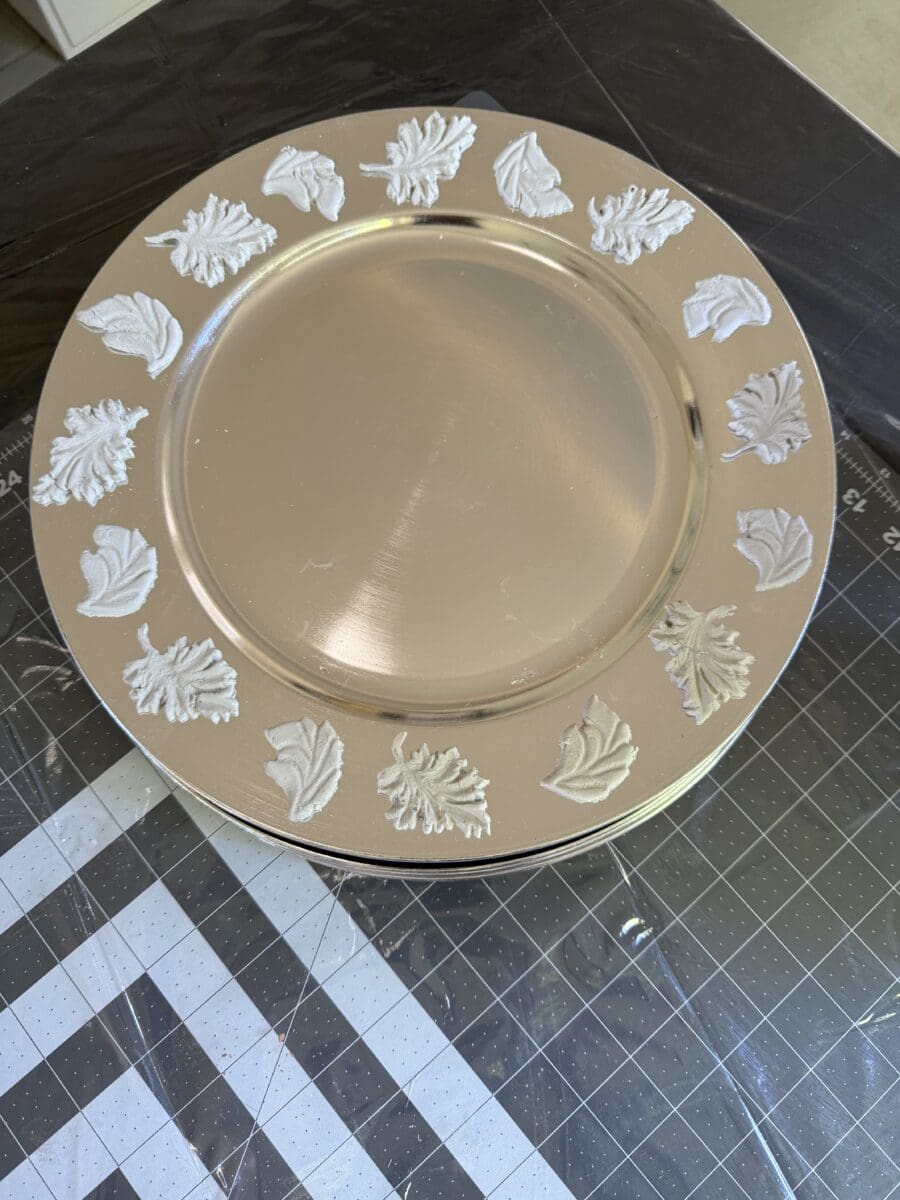
5. After a 24 hour period, I was able to fully paint them in the Antique White acrylic paint. In typical white paint fashion, it took two coats to cover them completely. However, they dry fairly fast so it didn’t take too much extra time to repeat this step.
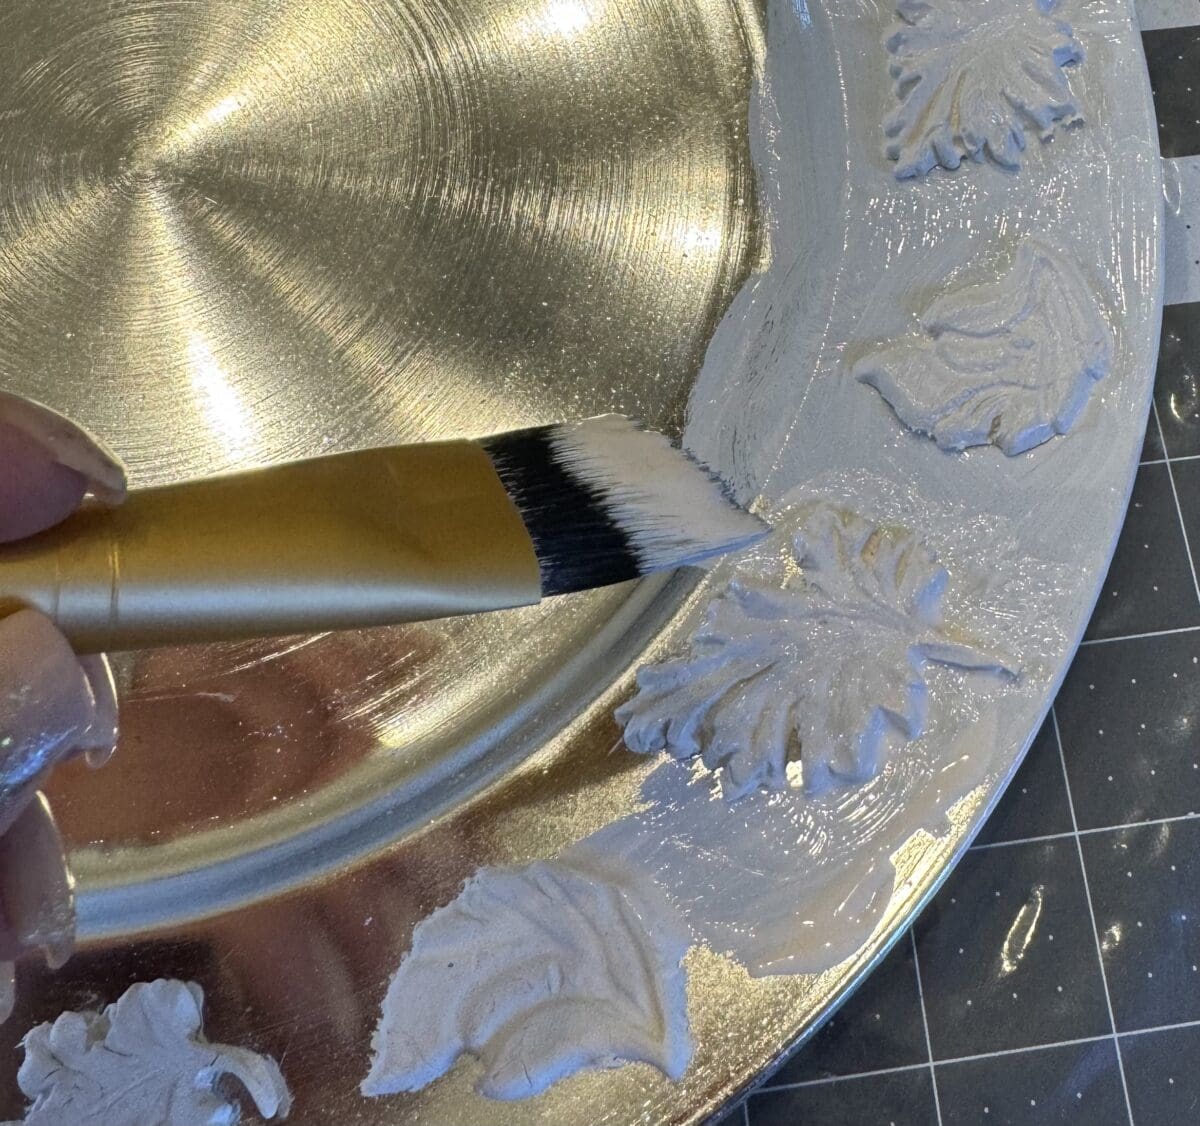
6. Now, they would have been beautiful just left like this, but I wanted them to be a copper tone, so I chose to add the Metallic Antique Copper paint on top of the Antique White. I simply dry brushed this on. I did not want to fully cover the cream color but just wanted to give it a little flair if you will.
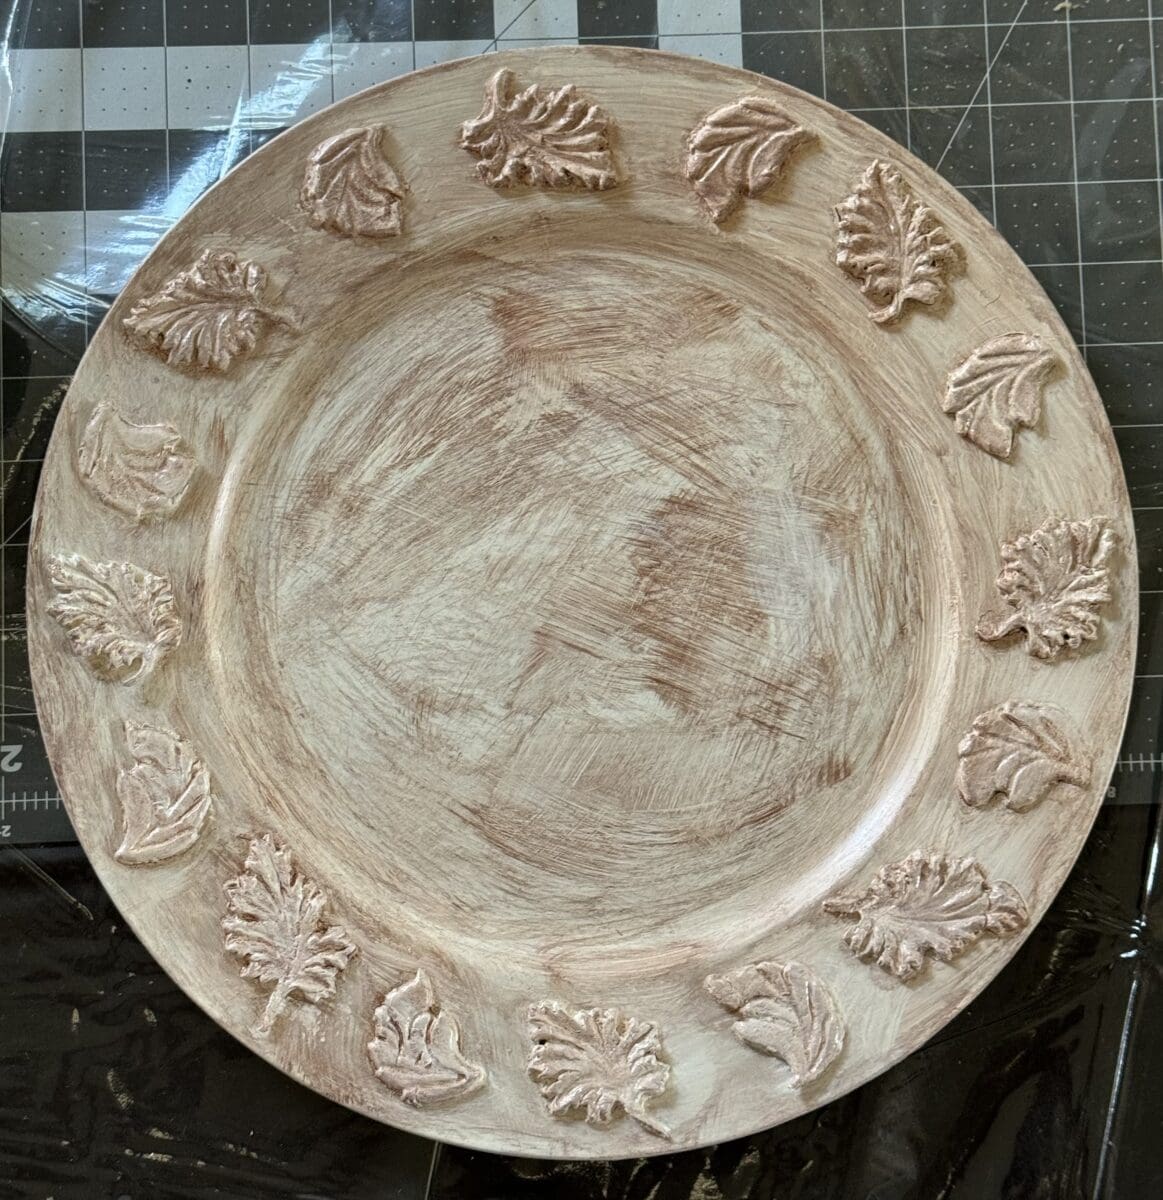
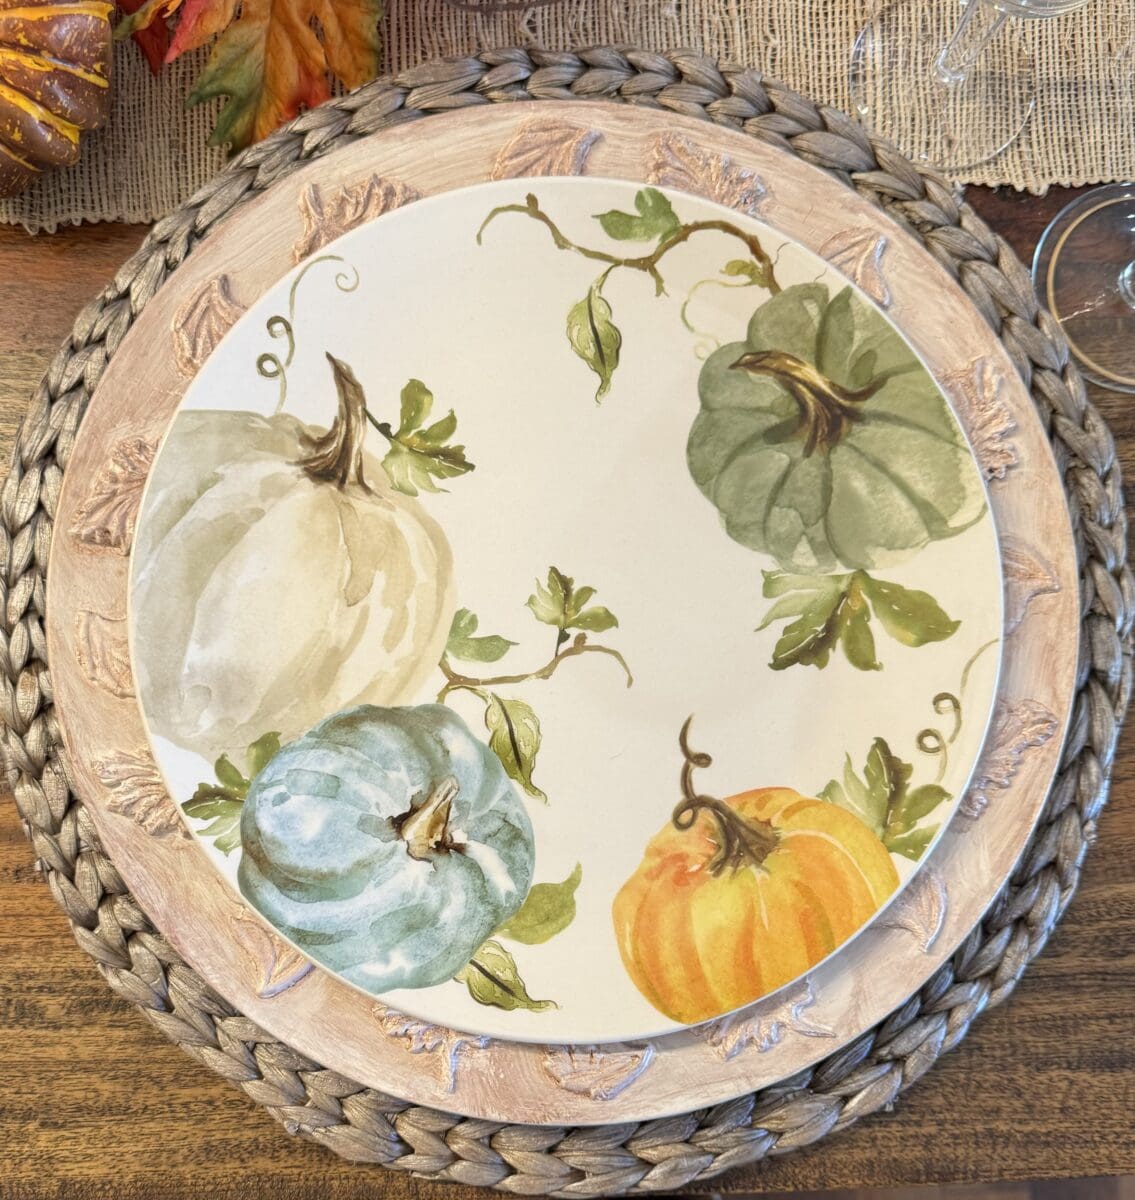
7. You really can’t mess this up. If you don’t like the copper, just paint back over it with the cream. If you want less copper, go back over it dry brush style with the cream. I think they turned out beautifully and can’t wait to set my full table for Thanksgiving! Which place setting do you like best with the charger?
8. I love it so much that I think I may try using those flower molds to make some for my Mother’s Day table setting.
Related Articles

Dollar Tree Bunny Heads
Creating the cutest little bunnies from these Dollar Tree bunny heads....I had these bunny heads from Dollar Tree in my stash, but not to worry, I have been to Dollar Tree and they have them again this year. I am a sucker for anything bunnies and knew I could use...

LOVE Sweatshirt DIY
Creating the cutest sweatshirts for Valentine's...I originally ran into Hobby Lobby to peek the big 90% off Christmas sale and ran into these cute little words! These words were in the Valentine's section of my store and 40% off. I wanted the XOXO but there was only...

Santa Ornament Decor
Here are the supplies I used: Silver Tray from Dollar Tree. You could also use a picture frame or even wood for this project. The Santa ornament. I purchased both the red and the gold Santa ornaments at WalMart for $1.98 each.