
Bunny Candy Jars
I made the cutest little candy jars for Spring!
I saw a tik tok video of someone creating some canisters and I thought they were so cute and such a great idea. Instead of making kitchen canisters for myself, I decided to make a jar for each of my grandbabies.
Here is what I used and how I did it:
*Jars – I grabbed these at Dollar Tree but you can find these anywhere.
*Wooden Sticks – tongue depressors or popsicle type sticks, I got these at Dollar Tree, they are the wide ones.
*Wooden Beads – I had this bag that had 2 sizes but you could easily use the same size bead if you wanted to.
*Glue – I used a gel super glue (Stick Fast) and hot glue, but you can use whatever works for you.
Embellishments – I had these sweet little paper flowers in my stash, they are from Hobby Lobby and were the perfect size.
1. I decided to use two different sized wooden beasds, but you could easily use two of the same size. I had these and thought they were perfect. These beads happen to only open on one side and not have a hole all the way through, so I placed the hole side down to that they sat flush on top of one another and the bottom one would sit flush on the jar lid. I used my Stick Fast Gel Super Glue to glue the beads together and to glue them to the jar lids. I felt this would last longer than using hot glue for the whole project, especially by giving them to my granddaughters.
2. I took a wooden stick, you will need one stick per bunny, and cut it to the length I thought would look best. The wooden stick is going to be the bunny ears, so you want to cut at each end of the stick. The middle of the stick can be discarded.
3. Once I had the size I wanted cut for both ears, I glued them to the top of the head. I kind of overlapped them towards the bottom. I wanted them directly on top so that it would look nice no matter what side you viewed them from. I used my Stick Fast for this part as well.
4. All that’s left now is adding embellishments. I decided since I was giving these to my sweet little girlies that I would add these cute little paper flowers between the ears. This would not only dress it up and add some color, but it also hides the imperfections of the ears being glued to the top. I simply added a flower to both sides of the bunny head. I used hot glue for this.

That is it, it is that easy. Aren’t these the cutests? I think the simplicity makes them even cuter. You could easily add a bow, or any other kind of embellishment. I also thought it would be cute to add some moss to the bottom of the bunny, or paint a face on each one, but I opted to keep mine simple. I hope you love this and will give it a try!
Related Articles

LOVE Sweatshirt DIY
Creating the cutest sweatshirts for Valentine's...I originally ran into Hobby Lobby to peek the big 90% off Christmas sale and ran into these cute little words! These words were in the Valentine's section of my store and 40% off. I wanted the XOXO but there was only...

Santa Ornament Decor
Here are the supplies I used: Silver Tray from Dollar Tree. You could also use a picture frame or even wood for this project. The Santa ornament. I purchased both the red and the gold Santa ornaments at WalMart for $1.98 each.
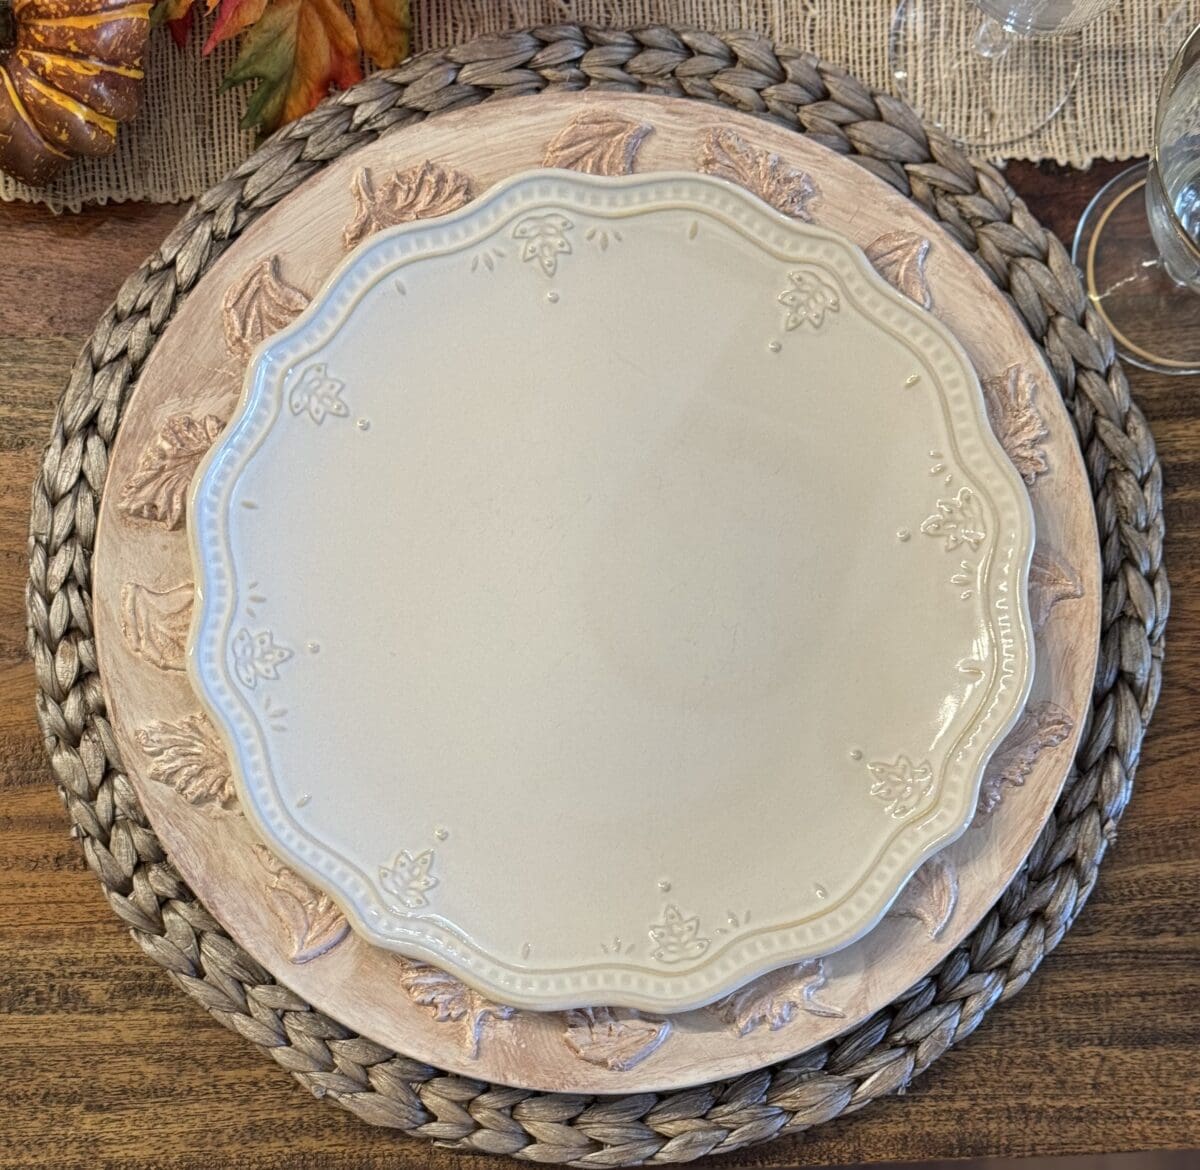
Fall Table Chargers
Here is what you will need: Silicon Mold of choice, I found these on Amazon, but you can generally find these anywhere that cake decorating is sold as these are meant to be used with fondant for cake decorating. Air dry clay, I used DAS which is sold at Hobby Lobby. ...