Dollar Tree Bunny Heads
Creating the cutest little bunnies from these Dollar Tree bunny heads….
I had these bunny heads from Dollar Tree in my stash, but not to worry, I have been to Dollar Tree and they have them again this year. I am a sucker for anything bunnies and knew I could use the frame of these to make them cute. Boy did they turn out cute! I am in love with these little cuties!
Here is what I used & how I did it:
*Bunny Heads from Dollar Tree
*Fluffy White Yarn – I purchased mine at Michael’s when it was 50% off, but any kind of yarn will work!
*Hot glue gun
*Eyes – I purchased these at Michael’s but Dollar Tree has them sometimes too!
*Pom Poms – I got the smaller black ones and the slightly larger white ones. I loved that the white ones have little pink whiskery pieces coming out of them. All of these were also purchased at Michael’s.
*Thin Jute Rope – I used one piece per bunny for the whiskers. I had this in my stash but you can purchase this at DT or any craft store.
*Embelishments – Hair Bow for the girl, and Bow Tie for the boy. I used a combination of Ribbon, lace and premade bows, all from Hobby Lobby.
*Blush – I used my pink blush to rosy their cheeks
1. Cut the tags and silk hanging string off. Then make one cut at the very bottom of the white garland. Once you make that cut, the bunny begins to unravel in one large piece. I removed the mouth and threw it away. I removed the eyes and nose and after removing the glue from them, I placed them in my stash for another project someday. The cardboard in the center of the ears just pulls off. You can decide to toss or keep, I tend to keep everything.


2. Once I had everything removed and all that remained was the frame, I made sure I snapped it together nice and tight.
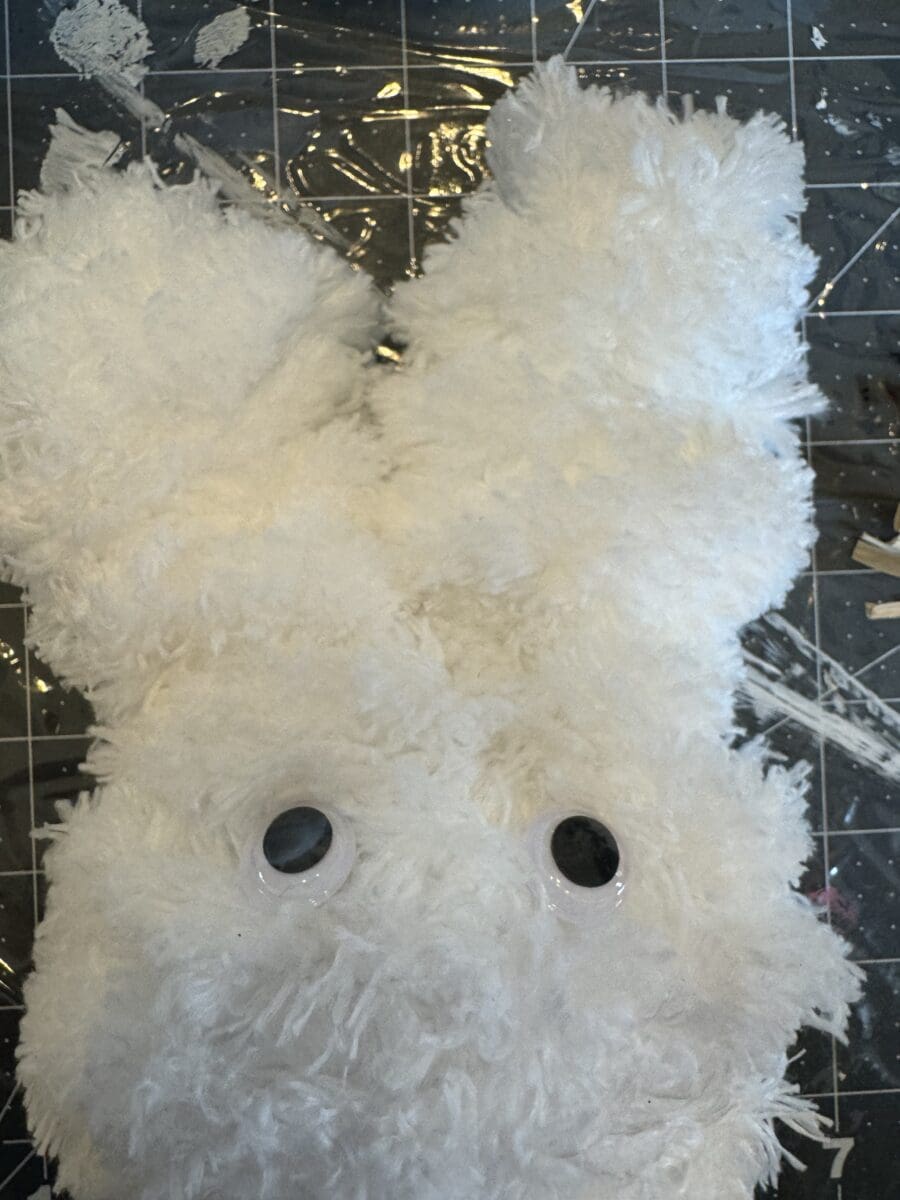
3. You will then start adding hot glue all around the the top of the bottom piece and wrap the fluffy yarn around it. I proceeded to add hot glue on all surface areas of the frame before I wrapped it with yarn. I wanted to ensure that the yarn stayed in place. I only wrapped the entire head once. I went up the head, around one ear, down the same ear, between the ears and wrapped the other ear up and down and ended in between the ears with a large dollup of hot glue. I clipped the yarn and fluffed it out so you can not see where it ended.


4. Now you are ready to add the face. Again, I ended up using eyes that I had from Michael’s, but you can use any eyes you wish and every craft store sells these things. I have purchased them at Dollar Tree in the past. These are 0.58 inches. I first layed out the entire face to see where I wanted the eyes, then removed everything else and glued them in place with hot glue.
5. Next I took a thin piece of jute rope and frayed it on each end to make it look like whiskers. I hot glued that in place.

6. I used the .5 inch black pom pom for the nose and the .75 inch white pom poms for under the nose. I hot glued them on, and just like that, you have the cutest little bunny head!
7. I of course could not just leave them like that! I needed them to have rosy cheeks and some embellishments. I decided to make one with a hair bow and one with a bow tie. 

8. Here they are all complete! What a transformation. I cannot wait to decorate with these! Hope you love them and will give them a try! 
Related Articles
LOVE Sweatshirt DIY
Creating the cutest sweatshirts for Valentine's...I originally ran into Hobby Lobby to peek the big 90% off Christmas sale and ran into these cute little words! These words were in the Valentine's section of my store and 40% off. I wanted the XOXO but there was only...
Santa Ornament Decor
Here are the supplies I used: Silver Tray from Dollar Tree. You could also use a picture frame or even wood for this project. The Santa ornament. I purchased both the red and the gold Santa ornaments at WalMart for $1.98 each.
Fall Table Chargers
Here is what you will need: Silicon Mold of choice, I found these on Amazon, but you can generally find these anywhere that cake decorating is sold as these are meant to be used with fondant for cake decorating. Air dry clay, I used DAS which is sold at Hobby Lobby. ...


